Posterior Tibial Tendonitis
The Posterior Tibial Tendon runs from your calf muscles, behind your inside ankle bone, and attaches underneath the navicular bone (the bone in the middle of your foot), which gives your arch support. When the Posterior Tibial Tendon becomes weak or loose your arch can collapse which leads to pain and flatfoot.
What causes Posterior Tibial Tendonitis?
- Improper or excessive physical activity
- Past injuries such as an ankle sprain or other trauma
- Past ankle surgery
- Obesity: too much pressure causes excessive wear and tear on the tendons
How do I know if I have Posterior Tibial Tendonitis?
What are the symptoms of Posterior Tibial Tendonitis?
- Pain along the back and inside of the foot and ankle
- Flattening or collapsed arch
- Toes begin to point outward
- Inability to point the toes inward
- Limited range of motion in the ankle
- Unsteady gait
- Inability to raise your heel (can’t stand on your toes.)
How is Posterior Tibial Tendonitis diagnosed?
- Physical examination
- MRI
What can I do from home for Posterior Tibial Tendonitis?
What can I do to prevent Posterior Tibial Tendonitis?
- Wear shoes with firm soles that support your arch
- Stop any physical activity immediately if you feel pain
What treatments can I do from home for Posterior Tibial Tendonitis?
- Rest - Get off your injured foot as soon as possible. Relieving weight and pressure will help your foot heal faster and avoid further injury. You may want to consider wearing a walking boot for a few weeks in order to allow your Posterior Tibial tendon sufficient time to rest.
- Ice - Rest or wrap your injured foot with ice as soon as possible. Ice helps prevent swelling and promotes faster healing time. Wrap the ice in a towel and avoid putting ice directly on the skin.
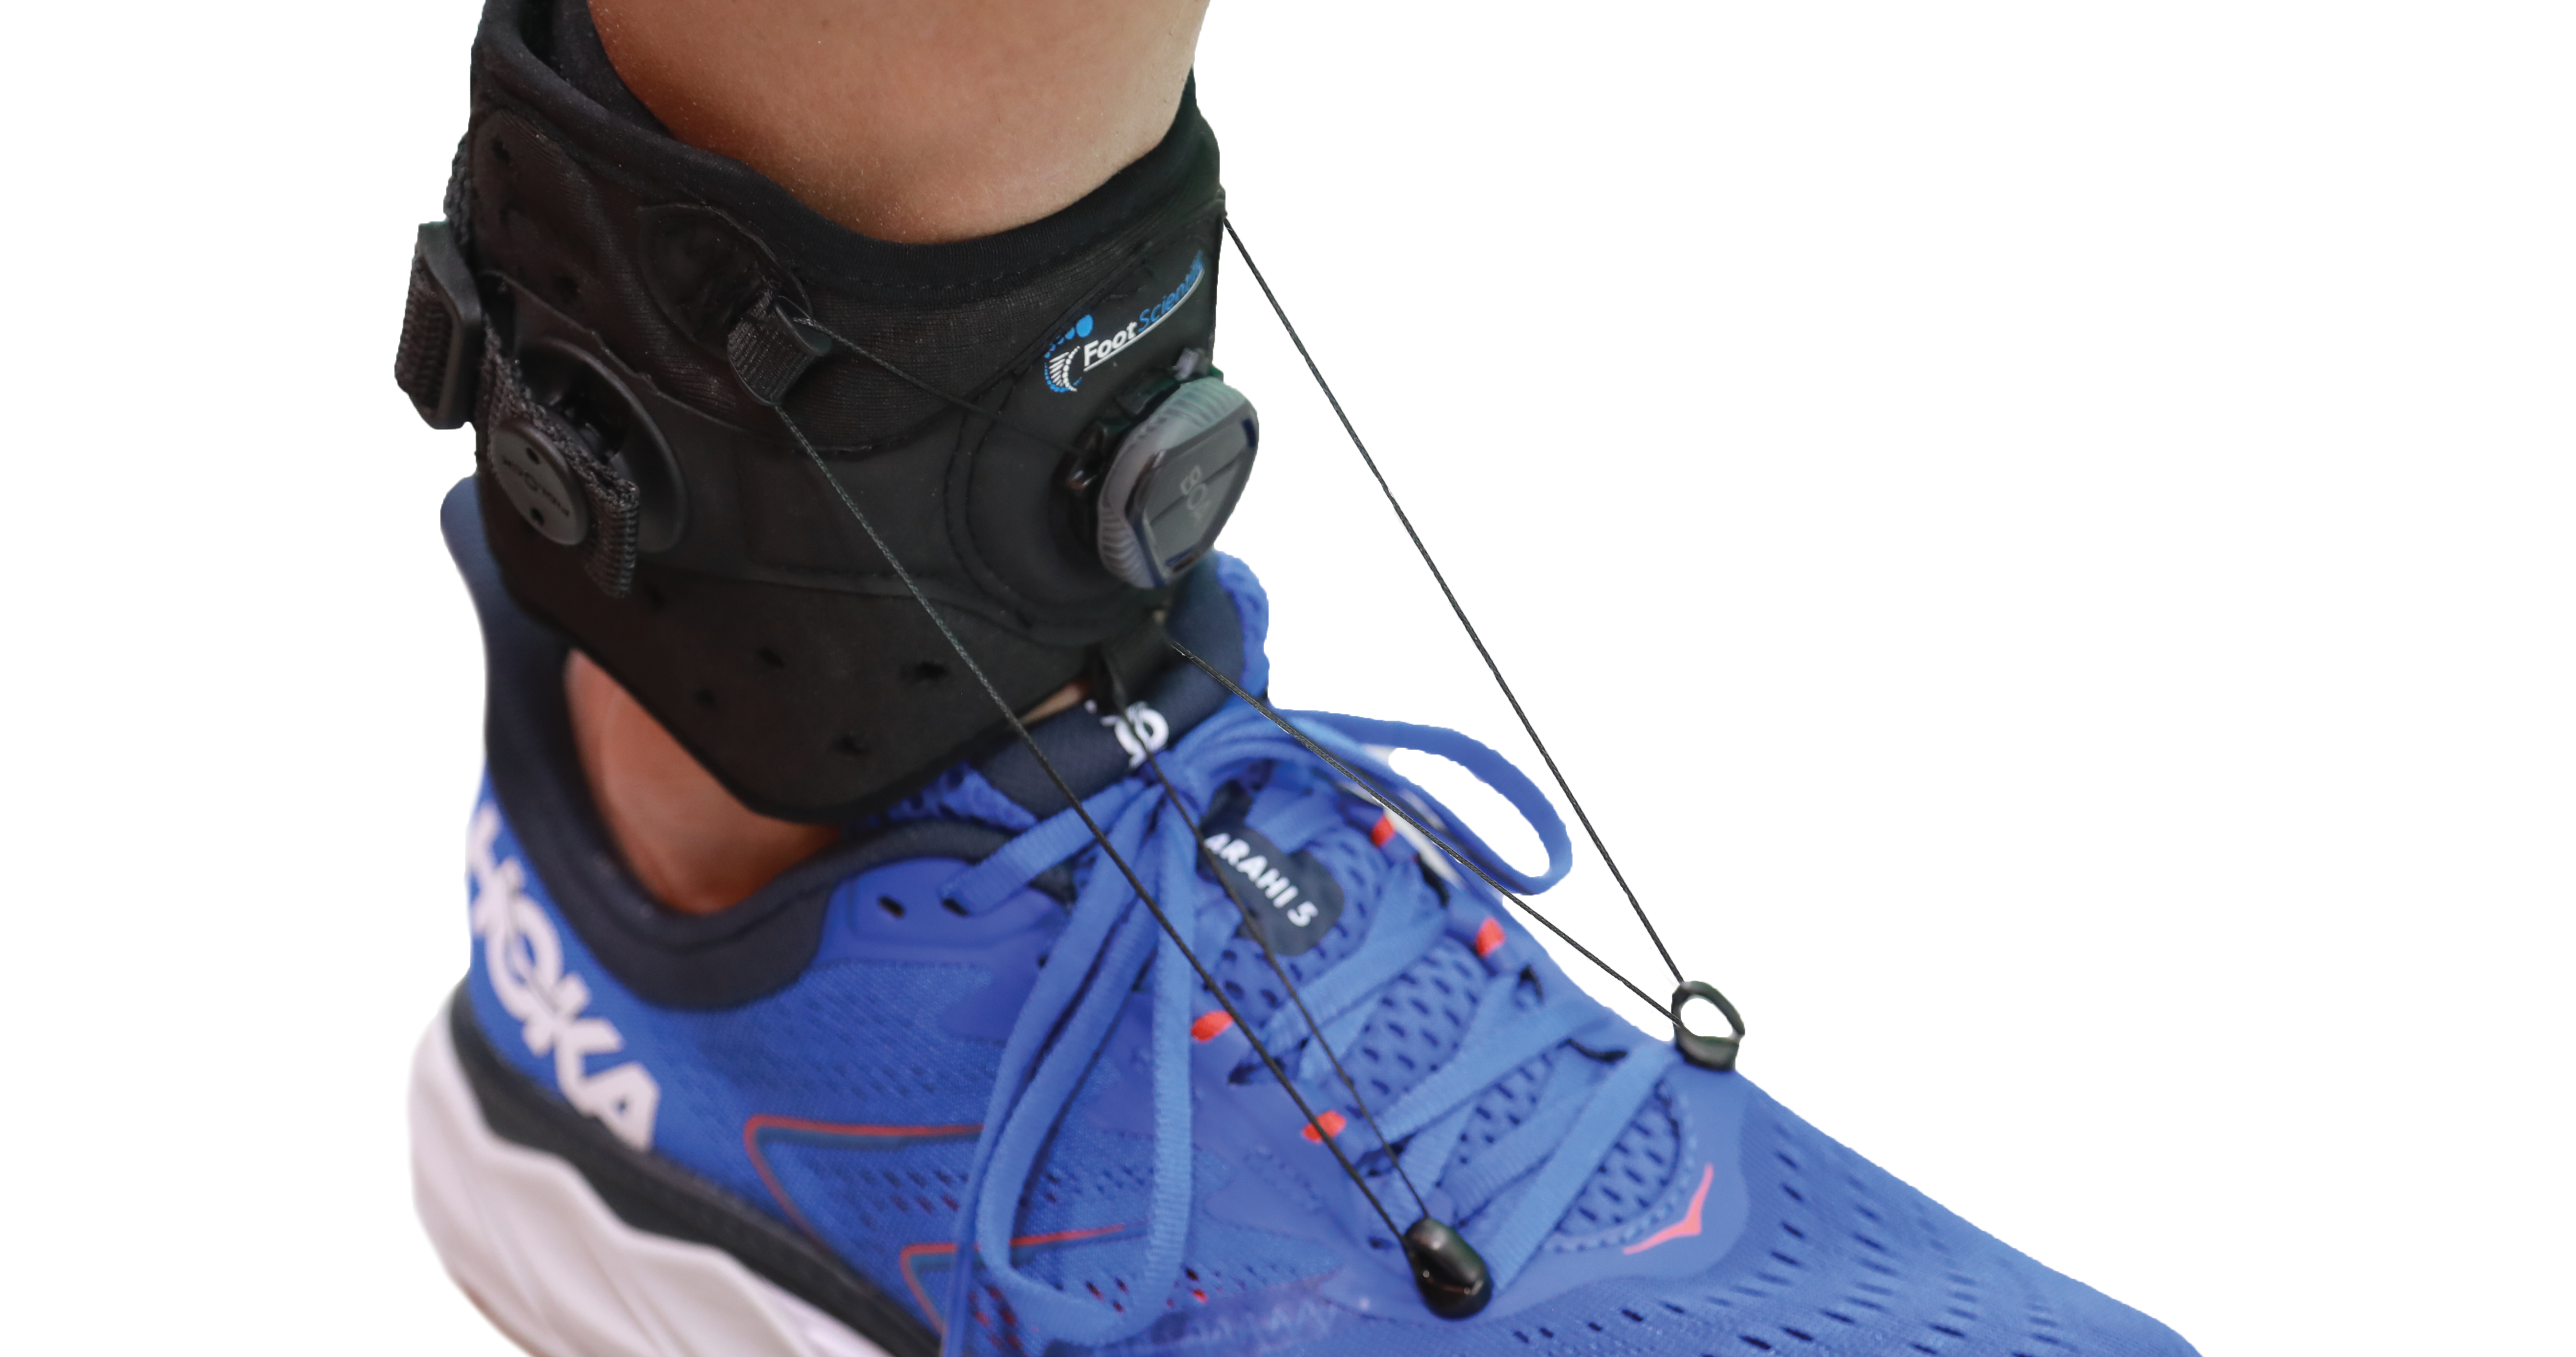
- Compress - Immobilize the injured foot with a bandage or ankle brace. This gives your ankle stability and protects it from further injury. Make sure you don’t wrap your foot or ankle too tightly. You don’t want to cut off the blood supply to your foot.
- Elevate - Make sure you keep your foot elevated as this will also help to minimize swelling. It’s best if you can elevate your foot to the level of your heart.
- Anti-inflammatory medication
When should I see a doctor for Posterior Tibial Tendonitis?
When should I see a doctor for Posterior Tibial Tendonitis?
While most mild cases of Posterior Tibial Tendonitis can be taken care of from home you should see your doctor if your symptoms become worse and your foot becomes swollen and painful. You should also follow up with your doctor if you notice that your arches are falling
Treatments your doctor may recommend for Posterior TIbial Tendonitis
Non-Surgical:
- Rest is the most important factor in treating Posterior Tibial Tendonitis
- Using a firm arch support in your shoe. This helps relieve the tendon’s stress and prevent a collapsed arch.
- Taking anti-inflmmatory medication
- Physical Therapy
Surgical:
Surgery is sometimes required to correct Posterior Tibial Tendonitis. There are several options for surgery:
- The surgeon can remove inflamed tissue to allow the tendon to heal without complications
- The surgeon repairs the tears in the tendon by suturing the tendon back together
- In advanced cases, the surgeon may need to do some additional surgical procedures to restore the foot to a more normal position
Ask an Orthopedic Surgeon: PTTD Q&A
Expert answers from Dr. Rob Faux, Board-Certified Orthopedic Surgeon
Here's what most people don't understand about PTTD: it's progressive. Catch it early with the right orthotics, and you can often avoid surgery. Wait too long, and surgery becomes your only option.
Posterior tibial tendon dysfunction requires medial heel posting (3-5°) to reduce tendon strain by controlling excessive pronation and supporting the medial longitudinal arch.
Understanding PTTD: Why Your Tendon is Failing
The posterior tibial tendon is the primary dynamic stabilizer of your medial longitudinal arch—it's the main muscle-tendon unit keeping your arch from collapsing. When your foot pronates (rolls inward excessively), this tendon works overtime trying to maintain the arch against your body weight.
What happens over time:
- Tendon inflammation (tendinitis)
- Tendon degeneration (tendinosis)
- Progressive tendon failure
- Eventual arch collapse (flatfoot deformity)
Critical Orthotic Features for PTTD
1. Medial Heel Posting (Most Important)
A 3-5° medial heel wedge is the foundation of PTTD treatment. This wedge brings the heel from its abnormal valgus (outward) tilt to a neutral position, immediately reducing the eccentric load on the posterior tibial tendon.
Think of it like this: When your heel tilts outward, the posterior tibial tendon is constantly pulling to try to tilt it back inward. The medial heel post does this work mechanically, allowing the inflamed tendon to rest and heal.
2. Firm Arch Support
Supporting the medial longitudinal arch reduces the "sag" that overstretches the posterior tibial tendon. The arch support acts like a prop under a sagging bridge, taking load off the failing support structure (the tendon).
3. Structured Materials (Cork Amalgam)
Cork amalgam or semi-rigid materials are essential for PTTD. Soft foam orthotics compress under body weight, losing their corrective geometry exactly when you need it most—during weight-bearing. The tendon needs consistent support throughout the day.
4. Deep Heel Cup
A deep heel cup enhances stability by controlling heel motion in all planes. This reduces the "wobble" that creates additional tendon strain during walking.
Clinical Approach by PTTD Stage
Stage 1 - Early PTTD (Tendinitis):
- Symptoms: Medial ankle pain, mild swelling, pain with activity
- Orthotic: Type 1 with 3° medial posting
- Prognosis: Excellent with early intervention
- Key: Consistent wear allows tendon inflammation to resolve
Stage 2 - Flexible Flatfoot:
- Symptoms: Arch begins to collapse but can be manually corrected
- Orthotic: Type 1 with 3-5° medial posting, aggressive arch support
- Prognosis: Good with orthotic use, prevents progression
- Key: Higher degree of posting may be needed
Stage 3 - Rigid Flatfoot:
- Symptoms: Fixed arch collapse, cannot be manually corrected
- Orthotic: Custom orthotics or bracing typically required
- Prognosis: Orthotics for symptom management, may need surgery
- Key: Focus shifts from correction to accommodation
Stage 4 - Ankle Involvement:
- Symptoms: Ankle arthritis develops
- Orthotic: Bracing or surgical intervention typically needed
- Key: Orthotic intervention should occur before this stage
Why Early Intervention Matters
This is critical: PTTD is progressive. Stage 1-2 can often be successfully managed with appropriate orthotics, preventing the need for surgery. Once Stage 3-4 develops, surgical options become limited and more complex.
Research support: Studies show that medial heel wedging combined with arch support significantly reduces posterior tibial tendon strain, with success rates of 60-80% in early-stage PTTD when combined with activity modification and strengthening exercises.
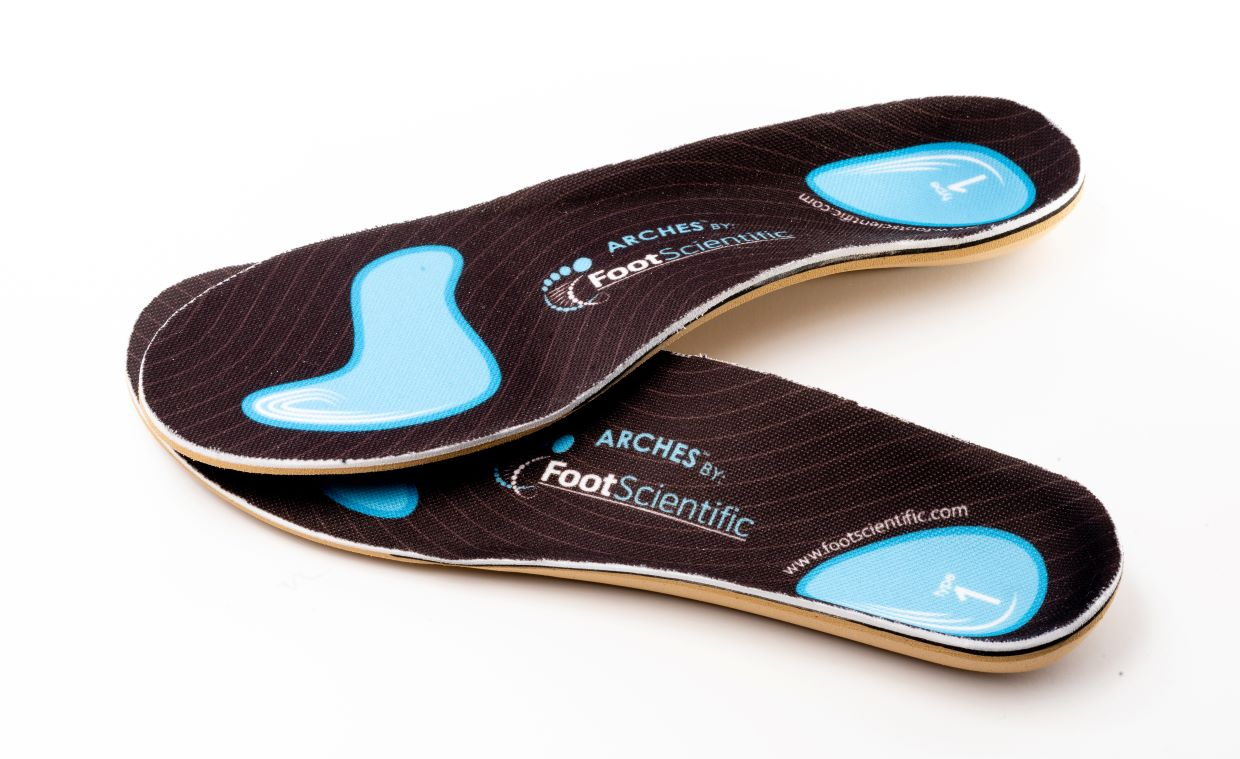
Type 1 Orthotics for PTTD
The Arches Type 1 orthotic provides the essential features for PTTD treatment:
- 3° medial heel post to control pronation
- Firm cork amalgam base for consistent support
- Structured arch support to offload the tendon
- Deep heel cup for stability
For most Stage 1-2 PTTD patients, Type 1 orthotics provide the biomechanical control needed to allow tendon healing while preventing progression.
Recommended for PTTD Treatment:
Arches Type 1 - Pronation Control Orthotics
Features 3° medial heel posting and firm arch support specifically designed to offload the posterior tibial tendon and prevent PTTD progression.
⚠️ Early intervention is critical: Stage 1-2 PTTD responds well to orthotics. Don't wait until surgical intervention becomes necessary.
The honest answer from an orthopedic surgeon: For most early-stage PTTD, prefabricated orthotics work just as well as custom—at a fraction of the cost.
Prefabricated orthotics work well for Stage 1-2 PTTD with flexible deformities, while custom orthotics become necessary for Stage 3+ PTTD, rigid deformities, or failed prefabricated trials.
Stage-Based Orthotic Decision
Stage 1 PTTD - Prefab Recommended:
- Deformity: Minimal or no arch collapse
- Flexibility: Normal foot flexibility
- Orthotic: Type 1 prefabricated with 3° medial posting
- Success Rate: 70-80% with prefab orthotics
- Cost-Benefit: Save $300-500 with similar outcomes to custom
Stage 2 PTTD - Prefab Often Sufficient:
- Deformity: Visible arch collapse but flexible (can manually correct)
- Flexibility: Arch can be pushed back up with hand pressure
- Orthotic: Start with Type 1 prefab; if insufficient control, progress to custom
- Success Rate: 60-70% with prefab orthotics
- Trial Period: Give prefab 8-12 weeks before considering custom
Stage 3 PTTD - Custom Typically Required:
- Deformity: Fixed arch collapse, cannot manually correct
- Flexibility: Rigid flatfoot deformity
- Orthotic: Custom orthotics or ankle bracing
- Goal: Accommodation rather than correction
- Surgical Consideration: Many Stage 3 patients eventually need surgery
Clinical Decision Framework
Try Prefab First If:
- Stage 1 or early Stage 2 PTTD
- Foot shape is relatively standard (not extremely wide/narrow)
- Flexible deformity (arch can be manually corrected)
- Cost is a significant concern
- New diagnosis, haven't tried orthotic treatment yet
Go Directly to Custom If:
- Stage 3 or 4 PTTD with rigid deformity
- Previous failed trial of appropriate prefab orthotics (wore consistently for 3+ months)
- Unusual foot shape that doesn't fit standard sizing
- Surgeon specifically recommends custom for your severity
- Post-surgical need for precise biomechanical control
My Clinical Approach as an Orthopedic Surgeon
I recommend starting with high-quality prefabricated orthotics like Type 1 for most Stage 1-2 cases. Here's why:
- Cost-Effective Trial: Saves $300-500 while providing 70-80% benefit of custom for appropriate patients
- Immediate Availability: Start treatment today instead of waiting 2-3 weeks for custom fabrication
- Diagnostic Value: Response to prefab helps determine if custom is truly needed
When to Progress from Prefab to Custom
Consider upgrading to custom orthotics if:
- No symptom improvement after 8-12 weeks of consistent wear
- Pain worsening or arch collapse progressing despite prefab use
- Orthotic doesn't fit foot shape properly (too narrow/wide)
- Stage progression from 1→2 or 2→3 during treatment
What "Failed Prefab Trial" Really Means
Before concluding prefabs "don't work," ensure:
- ✓ Correct type (Type 1 for PTTD, not Type 2 or 3)
- ✓ Consistent wear (minimum 6-8 hours daily)
- ✓ Appropriate footwear (supportive shoes, not flip-flops or heels)
- ✓ Adequate trial period (minimum 8-12 weeks)
- ✓ Activity modification (reduced high-impact activities during healing)
Many "failed" prefab orthotics are actually cases of incorrect type selection or inconsistent compliance.
Red Flags for Immediate Custom
- Severe pain unresponsive to initial prefab trial (2-3 weeks)
- Rapid progression of arch collapse
- Inability to fit Type 1 prefab due to extreme foot shape
- Surgeon recommendation based on examination findings
Cost-Benefit Analysis
- Prefab Type 1: $72
- Custom Orthotics: $400-600
- Difference: $328-528 saved if prefab works
- Success Rate: 70-80% of Stage 1-2 PTTD responds to prefab
Bottom Line
For most early-stage PTTD patients, start with Type 1 prefabricated orthotics. If symptoms don't improve after a proper 8-12 week trial, then custom orthotics are warranted. This approach is both cost-effective and clinically sound.
Remember: PTTD is progressive. The earlier you intervene with appropriate orthotics (whether prefab or custom), the better your chances of avoiding surgery.